Initialization
Cryptographic utilities
Shardus requires a few key steps to get up and running. One of them is to install the shardus-crypto-utils npm package.
npm install shardus-crypto-utils
# OR:
yarn add shardus-crypto-utils
Before using the crypto package for hashing or signing data, we need to initialize the module using the init function and pass in a 64-character hex key.
// Typescript
import * as crypto from 'shardus-crypto-utils';
// Javascript
const crypto = require('shardus-crypto-utils');

crypto.init('69fa4195670576c0160d660c3be36556ff8d504725be8a59b5a96509e0c994bc');Learn more about how to use this package here.
Monitor Client
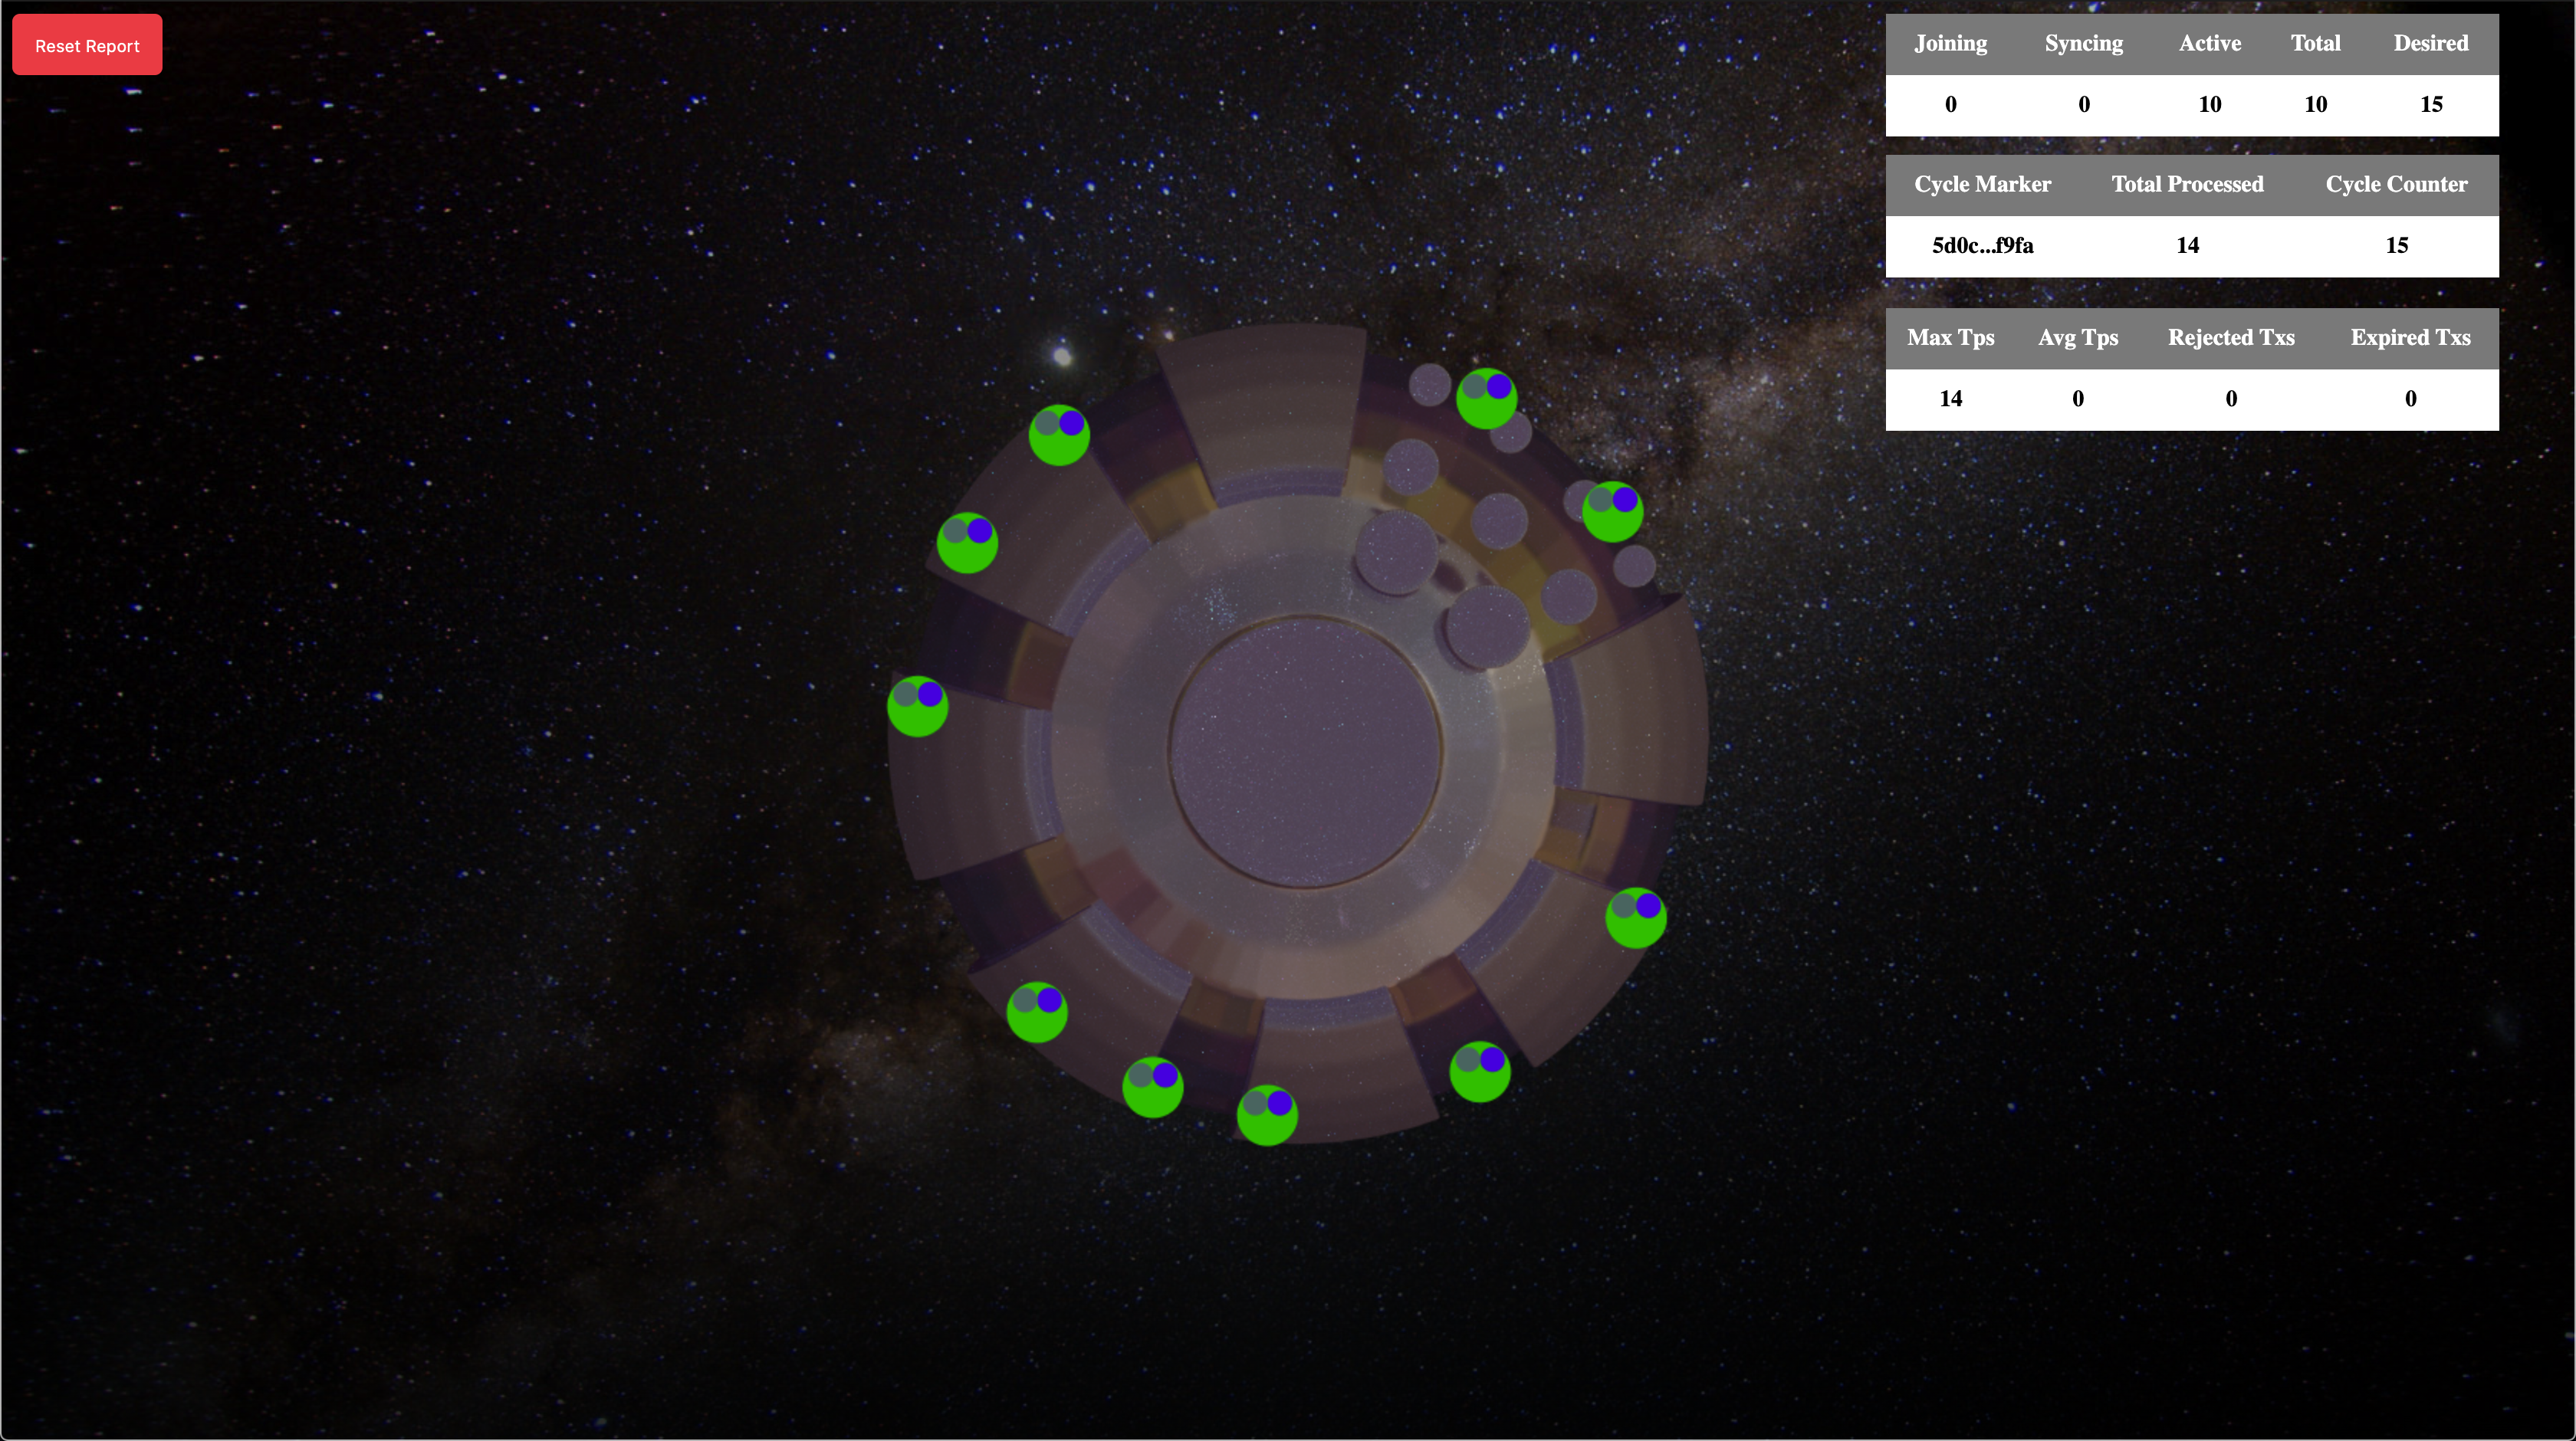
The next things you should set up for Shardus are the monitor-server and monitor-client. These are used to visually monitor the status of the nodes in the network. The vast majority of the time something goes wrong because of a bug, you'll be able to tell just by looking at the monitor client. This is a screenshot of what the monitor client looks like with 10 active nodes in the network that are all in sync.
The tools section of the docs has more detailed documentation on these packages.
Shardus CLI Tool
Finally, you'll want to grab the shardus-cli-tool, which will provide you with various commands to help you create, start, and stop networks.
For the most part, you will be using the network tool provided in the Shardus CLI tool, but there are a few other tools available as well. You can find more detailed documentation on the CLI tool here.